Thursday 29 December 2011

Four Quick and Easy New Year's nail styles

I wanted to show you four quick and easy nail styles for New Year's Eve.


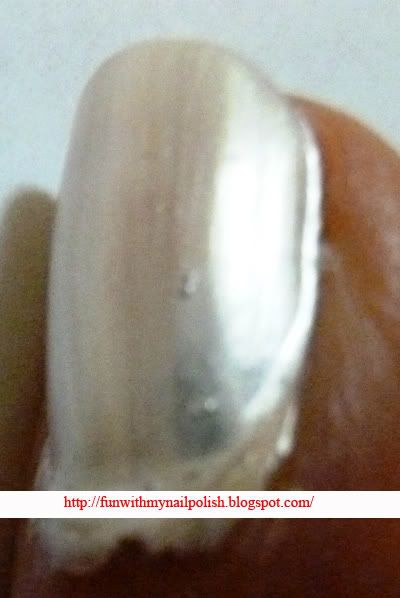
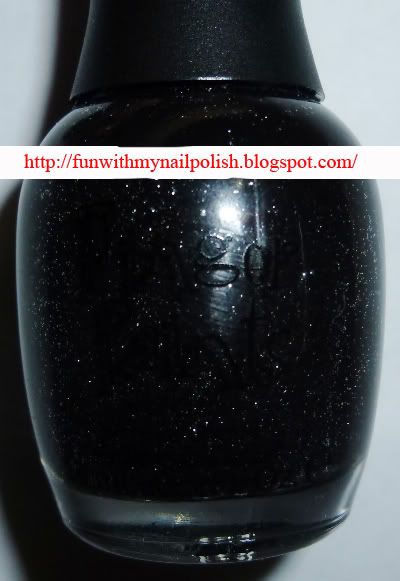
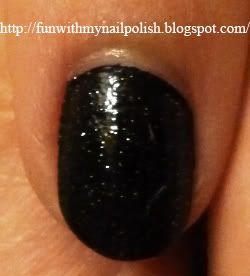
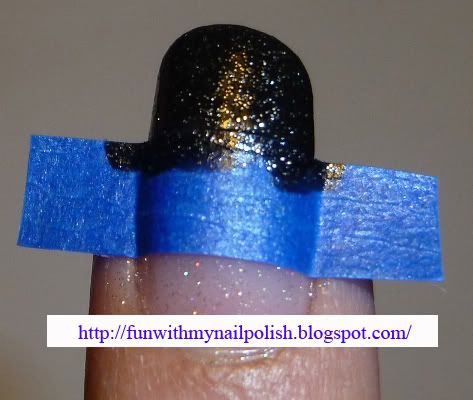
I will actually show you the worst photo first.


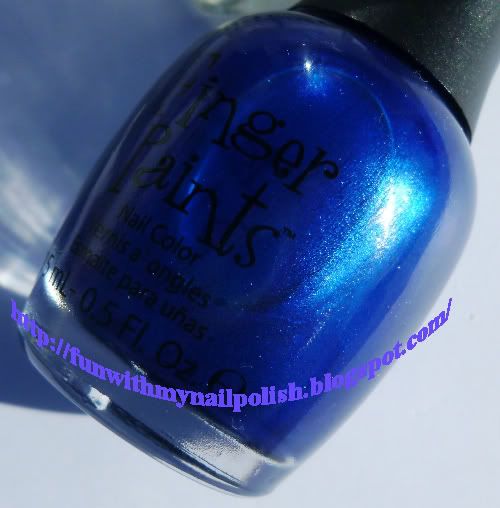
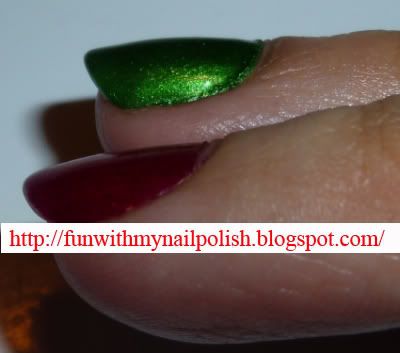
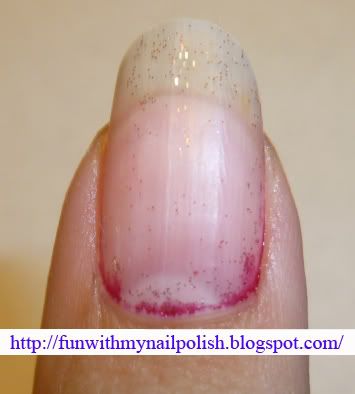
I thought that the blue (FingerPaints: Cerulean Seascape) had dried completely before I put down the tape, but apparently it hadn't!  And some of the blue polish lifted with the tape.  The idea of this nail is a blue polish with a glitter tip, just make sure that your blue polish is completely dry before you put down your tape!


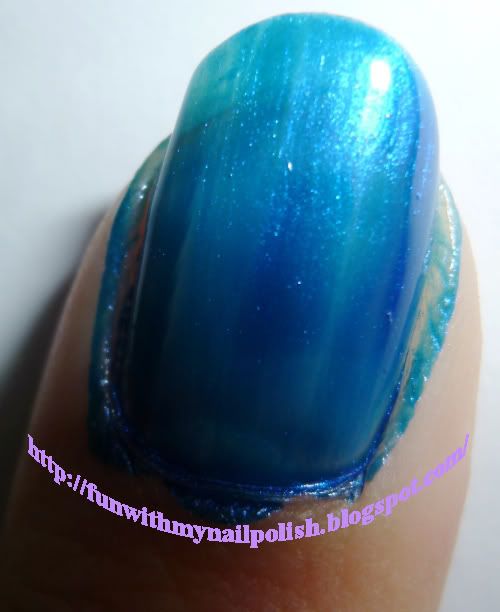
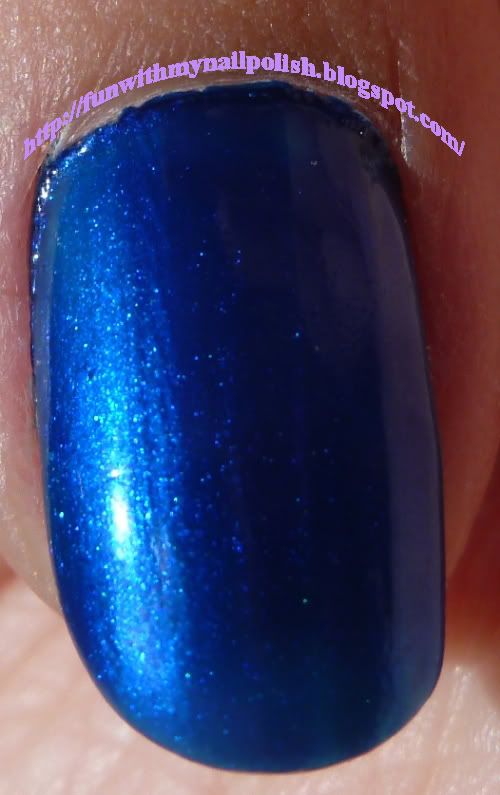
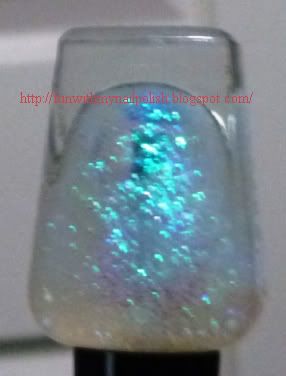
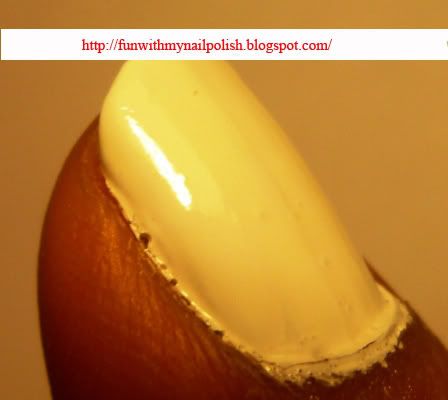
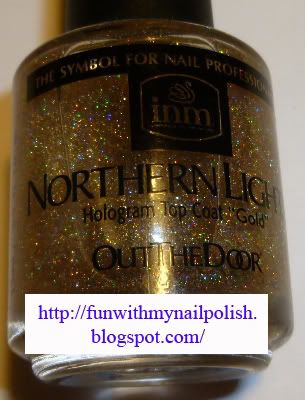
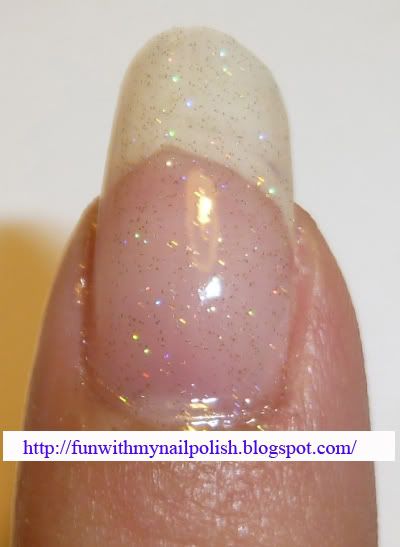
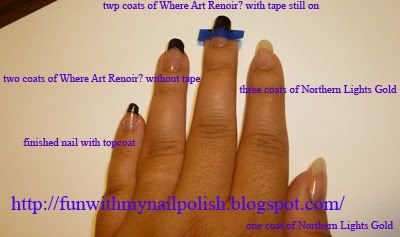
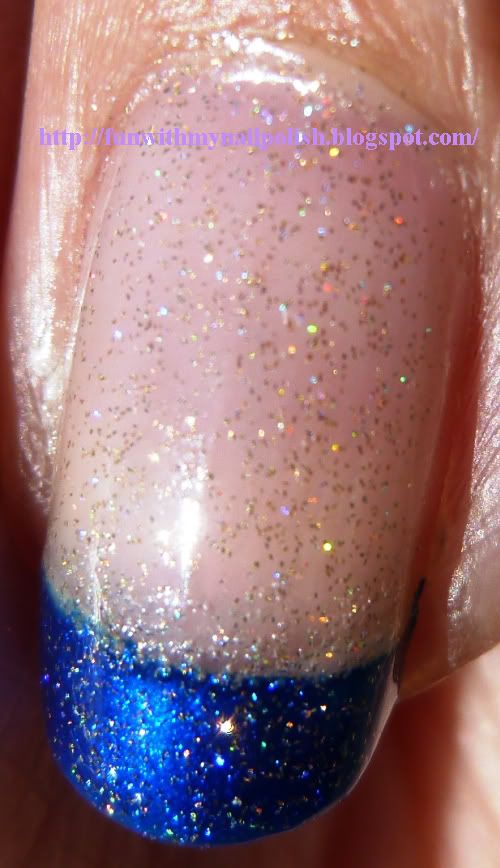
This next nail has a blue polish tip with Northern Lights Hologram Gold Top Coat. For some reason the picture is huge!


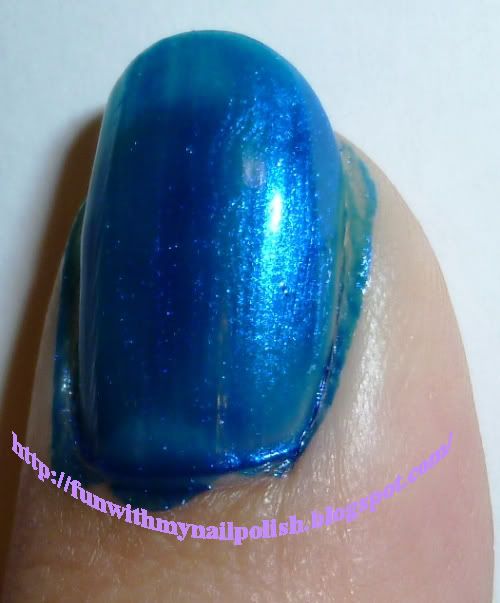
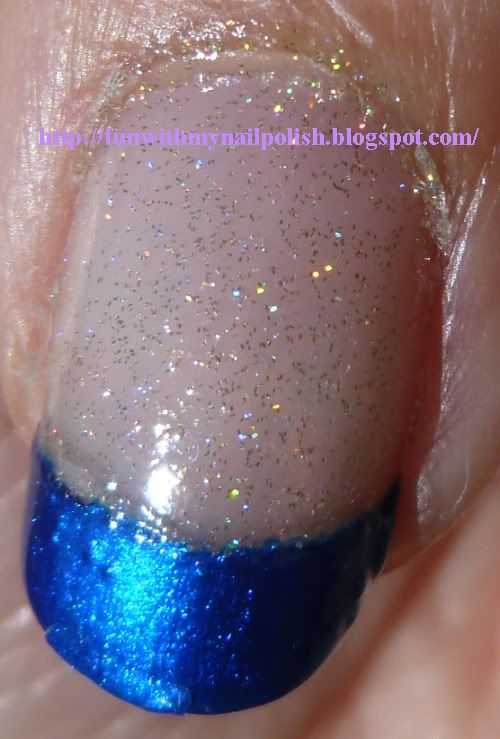
I like the next one the best, it is three coats of Northern Lights Hologram Gold Top Coat and over the tip is painted with FingerPaints: Cerulean Seascape


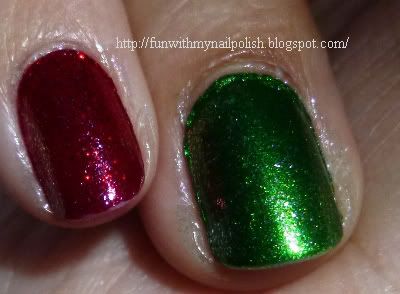
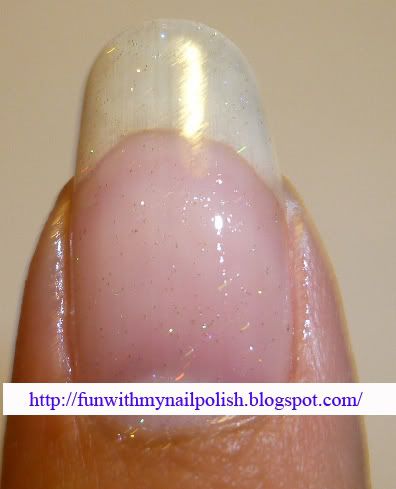
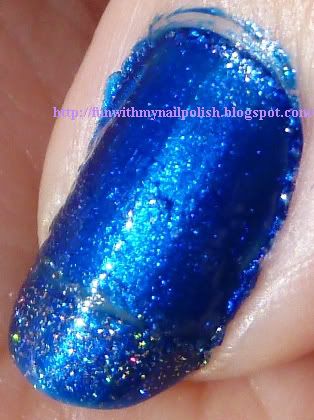
I like this one the best, but I had washed dishes before taking this picture and the paint chipped, you can see it in the picture if you look for it.

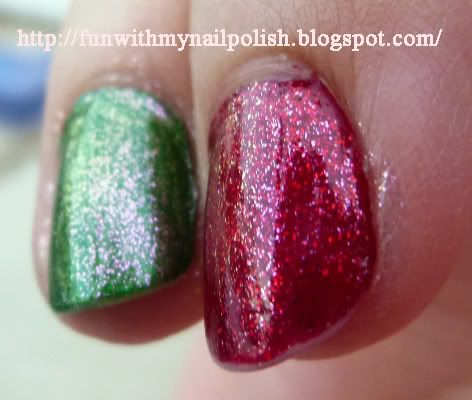
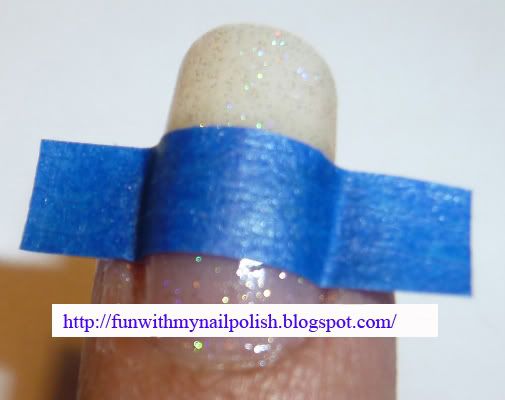
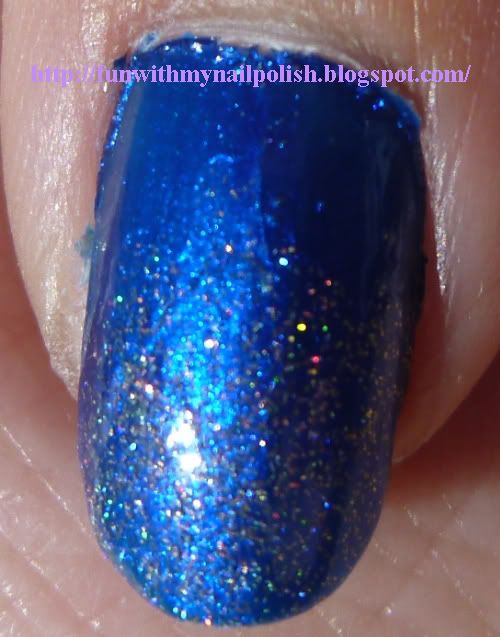
The last one is three layers of FingerPaints: Cerulean Seascape and a couple of pulls of Northern Lights Hologram Gold Top Coat from the tip of the nails toward the bed of the nails.


If you want to do any of these styles for New Year's I would use a gold toned glitter, because I personally find an opalescent glitter reminds me more of winter. Another option would be to use a black polish and a silver glitter polish.

These products were bought with my own money for review by myself.

Wednesday 28 December 2011

Finger Paints: Cerulean Seascape swatch


Oops. I almost forgot to post these pictures. The first few pictures I had to take indoors with a flash, so the colors aren't completely true, but I did get to take pictures of the final polish outdoors in the sunshine.

Here is my clean nail:


One coat:


Two coats:


Third coat with two layers of top coat indoors:

Third coat with two layers of top coat cleaned up and outside:

I love this color. If you are looking for a blue foil polish this is one to get. It goes on smooth and doesn't bubble as it dries.

You can buy FingerPaints:Cerulean Seascape at Sally Beauty Supply stores. This product was bought with my own money for review by myself.

Monday 26 December 2011

Weekend purchase - Finger Paints: Cerulean Seascape swatch

I figured I'd start this new little corner for my blog.  I was going to call this my Friday purchase, and post on Friday, but then I figured if I call it weekend purchase I'm not committed to posting on any one day.

Here is a hint as to what I bought this weekend.


See more after the jump.

Thursday 22 December 2011

Eeek!

So, my mother has been visiting and I thought for sure there would be no problem painting my nails, taking pictures and posting to this blog.  But of course I was obviously wrong I didn't get anything done at all.

Well, at least now I know for the next time I visit I'll need to set posts up ahead of time, or declare that I am taking a short break.

So, please don't think that I have abandoned something that I just started.

Also, I am trying to write up a disclosure notice, if anyone has any tips or things that should be included please let me know, thanks!

Wednesday 14 December 2011

Glittering top coats

I've finally been able to take a picture of my nails in the sunlight, it really does make a difference.


I think the sunlight helps my camera capture the true color of the nail polishes that the flash on the camera cannot do.

So, since my nails already have some wear on them I decided to try out different top coats on them just to check out the looks. Here are China Glaze: Ruby Pumps and Finger Paints: Sketch N Etch with two coats of Northern Lights Hologram Gold Top Coat.


And here is from left to right: Confetti: Party Palace Blue (blue in the bottle with hexagonal glitters and smaller fine glitter), Pure Ice: Don't You Wish (clear/white gloss with opalescent glitter), and an unknown Sally Girl mini nail polish (it has no name or number on it, and I couldn't find it on the Sally Hansen website either, it is has a bluish tinge withe opalescent glitter.)


Here's a picture of the unknown Sally Girl.


Then on my other hand, this one is a little hard to see, I have Finger Paints: Sparkle top coat.


And here I have the Finger Paints: Sparkle top coat over the Sketch N Etch, but on the right is the China Glaze: Ruby Pumps that has Pure Ice: Busted over it, I think they look awfully alike in this photo, but the Sparkle is opalescent in the bottle and the Busted is a light purple.


These products were bought with my own money for review by myself.


EDIT: I found out that the unknown Sally Girl is #812029. They don't have names on the bottles or at the store, but the website lists this as "Way 2 Disco." 12/22/11

Tuesday 13 December 2011

Quick and easy Christmas nails

I took my last final today, so hopefully I'll get to take pictures of my nails in sunlight now, instead of just with a flash.


So, here is my Christmas nails. I took two colors, China Glaze Ruby Pumps and Finger Paints: Sketch N Etch. I put the Ruby Pumps polish on every nail, except on my ring finger. On my ring finger I put Sketch N Etch.


You can see some wear on my pointer and middle fingers, but I think that is because I have been working like crazy on my finals. I put three coats of polish on each nail and two coats of Sally Hansen Super Shine on top.

I hope you like this!

These products were bought with my own money for review by myself.

Monday 12 December 2011

Finger Paints: Sketch N Etch swatch

I love this color. I don't know why I love the Finger Paints line... maybe its because of the cute names, but the colors are brilliant.


This nail polish perfectly compliments China Glaze: Ruby Pumpsthe only thing is that Ruby Pumps is a glitter polish and this is a foil polish. They do go together well if you wanted to do some Christmasy designs on your nails.

Here is the nail.


This is three coats of Finger Paints: Sketch N Etch and two coats of Sally Hansen Super Shine .

I would definitely recommend this polish if you want to have some fun with green nails.

This product was bought with my own money for review by myself.

China Glaze: Ruby Pumps swatch

I don't know why I love this color so much. Maybe because of the sparkle? the shine? the red? I can't decide, but it is an awesome color.


Here is the bottle of awesomeness.

And here is a picture of the nail.


This is three coats of China Glaze: Ruby Pumps and two coats of Sally Hansen Super Shine .

If you are looking for a fun red color I would definitely recommend this color.

You can see my swatch of Dorothy Who? here

This product was bought with my own money for review by myself.

Friday 9 December 2011

Pure Ice: Platinum

I did a fingernail swatch of Pure Ice: Platinum at the same time that I did one for Pure Ice: Super Star!


Unfortunately the Platinum had the same problem as the Super Star! Little bubbles appeared as the polish was drying.


This product was bought with my own money for review by myself.

Wednesday 7 December 2011

Pure Ice: Super Star!

Here I am using Pure Ice: Super Star!


My camera caught every flaw in the glass. I think it was a foretelling of things to come.

So, I read on tumbler.com that one girl was able to cover her nail with one coat, but since I paint my nails thinly I wasn't able to do that. It took me three coats.

Here is the name:


As you can see it does have a high gloss, but...


Hopefully you can see this, there are tiny, little bubbles on each nail. Two coats of top coat couldn't take it out.

This product was bought with my own money for review by myself.

Tuesday 6 December 2011

Finger Paints: Where Art Renoir? swatch

I promise that this is FingerPaints: Where Art Renoir? It is just hard to read the label since it is printed in black and the nail polish is black.


And here is my swatch example:


This is two coats of FingerPaints: Where Art Renoir? and two top coats of Sally Hansen Super Shine . This color from Finger Paints dries really rough, so if you want your nail to feel glossy you have to use a top coat. One coat of the top coat smoothed out most of the roughness, but it took a second coat to make it completely smooth. Otherwise the color is great. It is really opaque. I love the color and it would probably work great if you were doing galaxy style nails.

EDIT: You can see a better picture swatch here

These products were bought with my own money for review by myself.

Monday 5 December 2011

Finger Paints: Where Art Renoir? and Northern Lights: Hologram Gold Top Coat

I am back with another nail polish demonstration.

After scrubbing with nail polish remover for a long time I finally got the red glitter off of my nails.

I started with a coat of Sally Hansen Super Shine again.


Then I added a coat of Northern Lights Hologram Gold Top Coat


This is the bottle all shaken up, it has been over thirty minutes and the glitter still hasn't settled down.


One coat of polish.


Two coats of polish.


Three coats of polish.

Have you ever tried using those French tip nail sticker guides? Like these? I have and it has never turned out right for me. So I read about using painter's tape and tried it out since I already had some on hand.


This is how you place it, make sure it seals completely at the edges of your nail.

I then used FingerPaints Where Art Renoir? for the tip.


Here is one coat of the Where Art Renoir? It is opaque even in thin coats.


And here are the finished nails.


I would say that these do need a topcoat. It doesn't look it in the picture, but the tip on my ring finger the Where Art Renoir? is a bit dull without a topcoat. Also there is a rough edge where the Where Art Renoir? compared to the Northern Lights Gold.

China Glaze: Ruby Pumps swatch

This is for my friend Jessica, who just stared a make-up video blog on Youtube that you can view here.

So, I don't know, but if you are like me I don't normally have the time or money to afford a manicure, plus I really had having someone jab an orange into my cuticles. I find it extremely painful and I did get an infection once, but that was from a pedicure.

Anyway, I started out by cleaning my hands thoroughly. I had been using acrylic paints earlier in the day and tried to make sure that I scrubbed off all the excess paint. I also put lotion on my hands since they were all nasty and dry. And, as you can see in all the pictures, I took off my wedding ring.


Then I put on a coat of Sally Hansen Super Shine I don't think this step is completely necessary, but I saw it on a Korean nail art blog, and the lady's nails were gorgeous, so I thought I'd give it a try.


Then I started painting my nails with the China Glaze: Ruby Pumps. I need my nails to dry quickly, because you never know what kind of mischief a five-year old can get up to, I only painted thin coats.


As you can see there isn't much difference between three or four coats, but I do think there is more of a shine with a top coat on the pinky finger that is needed.

One thing I have read on other blogs, and I think is true, is that the glitter is very hard to get off. That is true for most nail polishes that contain glitter, but especially true for this nail polish.


This is my thumb, which only had one coat of polish, and I scrubbed with nail polish remover.

If I do more of these it is going to have to wait until after I can get the rest of the polish off.

This product was bought with my own money for review by myself.

Hello!

I am moving my nail polish posts here, because they don't really go with my other blog. So, if you have seen the posts before, please don't think that I am stealing my own work. You will also see the first few pictures I had to change the blog stamp I put on them.
Related Posts Plugin for WordPress, Blogger...